Showing posts with label angular. Show all posts

Friday, July 28, 2023

Spring ResourceTransformer Example

Here's an example of how to handle static web resources in Spring. Let us pretend that one of the business requirement of our Angular FE Spring Boot app is A/B testing. A/B testing is a method of comparing two versions of an app or webpage against each other to determine which one performs better. In short, we'll need a control webpage and a variant webpage. For the control webpage, there will be no changes. For the variant webpage, we'll need to inject "ab-testing.js" in the head of our webpage.

We will not be talking about how to do A/B testing. Instead, we will focus on how to inject the script tag in the head of our webpage. Requirements clear enough? Let's begin. Below is our control webpage.

Spring ResourceTransformer Example
Control Page

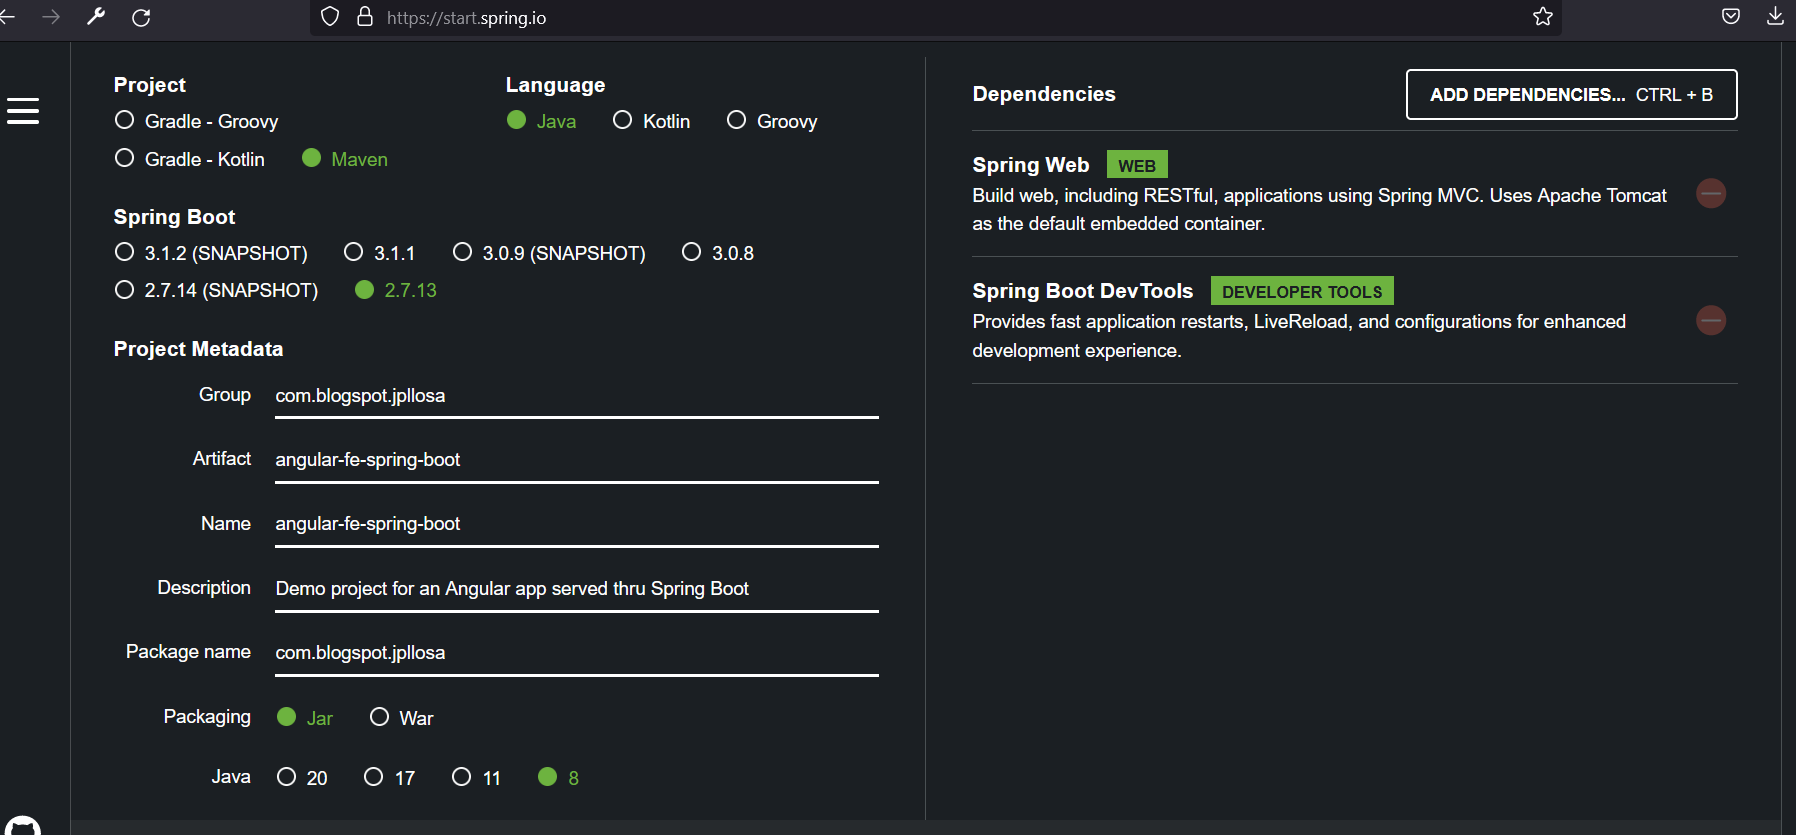
We will utilize the code from my previous blog, Angular FE Spring Boot Example and you can clone the code here, github.com/jpllosa/angular-fe-spring-boot.

Two Strategies

As far as I know, there are two ways to fulfill this business requirement.

First one is to insert the script tag when ngOnInit is called in a Component class.

Second is to use Spring's ResourceTransformer. We will use this method because the script tag is injected server side. Prior to serving the HTML file, it is transformed. The first strategy happens on the client side which is why I think this is a better solution. This also seems better because the "ab-testing.js" is already in the head prior to DOM manipulation by Angular. So let's get to it.

POM

Update the POM file. We need the dependency below for IOUtils.


<dependency>
	<groupId>commons-io</groupId>
	<artifactId>commons-io</artifactId>
	<version>2.11.0</version>
</dependency>

index.html

Add a marker text in dev/my-app/src/index.html, like so:


<head>
  ... snipped ...
  <link rel="icon" type="image/x-icon" href="favicon.ico">
  <!-- INJECT_HERE -->
</head>

Java Code

Create a com.blogspot.jpllosa.transformer package and add the following files below:


package com.blogspot.jpllosa.transformer;

import org.springframework.context.annotation.Configuration;
import org.springframework.web.servlet.config.annotation.WebMvcConfigurerAdapter;
import org.springframework.web.servlet.config.annotation.ResourceHandlerRegistry;


@Configuration
public class IndexTransformationConfigurer extends WebMvcConfigurerAdapter {
	@Override
	public void addResourceHandlers(ResourceHandlerRegistry registry) {
		registry.addResourceHandler("index.html")
			.addResourceLocations("classpath:/static/")
			.resourceChain(false)
			.addTransformer(new IndexTransformer());
	}
}

We create the class above so that we can add a handler when serving the index.html file. Here it specifies that the index.html file from the classpath:/static/ location will have to pass through a Transformer. Other static resources will not be affected. We are not caching the result of the resource resolution (i.e. resourceChain(false)).


package com.blogspot.jpllosa.transformer;

import org.apache.commons.io.IOUtils;
import org.springframework.core.io.Resource;
import org.springframework.stereotype.Service;
import org.springframework.web.servlet.resource.ResourceTransformer;
import org.springframework.web.servlet.resource.ResourceTransformerChain;
import org.springframework.web.servlet.resource.TransformedResource;
import javax.servlet.http.HttpServletRequest;
import java.io.IOException;

@Service
public class IndexTransformer implements ResourceTransformer {
	@Override
	public Resource transform(HttpServletRequest request, Resource resource, ResourceTransformerChain chain) throws IOException {
		String html = IOUtils.toString(resource.getInputStream(), "UTF-8");
		html = html.replace("<!-- INJECT_HERE -->", 
			"<script src=\"//third.party.com/ab-testing.js\"> </script>");
		return new TransformedResource(resource, html.getBytes());
	}
}

We've kept our transformer simple for this example. The code is readable enough as to what it is doing, isn't it? We are replacing the placeholder text with the script tag. Job done.

Demonstration

If you have read the Angular FE Spring Boot Example then you should know what to do next. In case you have not. I'll reiterate.

Build the Angular project, ng build on dev/my-app. This will create files in the dist directory.

Run mvn clean package on the project root directory. After that, run java -jar ./target/angular-fe-spring-boot-0.0.1-SNAPSHOT.jar

and we should be able to see something like below running on localhost:8080. Is "ab-testing.js" there?
Spring ResourceTransformer Example
Variant Page

There you have it. A quick example of how to handle or transform static web resources in Spring. Grab the full repo here, github.com/jpllosa/angular-fe-spring-boot

Monday, June 26, 2023

Angular FE Spring Boot Example

In this article we will demonstrate an Angular Front-End app served through Spring Boot's embedded Tomcat. Why do it this way? We can serve an Angular app in different ways (e.g. Apache Web Server, Nginx, etc.). What is so special about serving an Angular app through Spring Boot's Tomcat? There is nothing special. A reason could be that the development team is already well versed in Spring Boot with Tomcat. They have mastered configuring Tomcat and investing in a new web server (e.g. Nginx) is of little value. Another could be the deployment pipeline is already set up to do Java/Maven deployment (e.g. Jenkins). Lastly, it could be that you are a new hire and the development team already do it that way. That is, we don't have a choice but to support an existing Angular FE app served through Spring Boot.

Our focus will be on building the Angular app so that it can be deployed through a Spring Boot fat jar. We will lightly touch on starting a Spring Boot and Angular apps. It is assumed that the reader has knowledge regarding Node, Angular CLI, Java, Maven, Spring Boot, etc. The reader should know how to set up the mentioned technology stack.

Two Ways to Build

As far as I know, there are two ways to build an Angular app so that it can be deployed as single Spring Boot fat jar.

First one is to use the exec-maven-plugin. This plugin runs the ng build and the outputPath of the Angular app must point to src/main/resources/static so that Angular dist files are bundled in the jar during packaging.

Second is to use the maven-resources-plugin. This plugin copies the Angular dist files to the classes/static directory of the Spring Boot app. This is the method we will be demonstrating. This way seems to be cleaner because it doesn't populate any files under the Java section of the code. The Angular build code goes straight into the fat jar. This way, all Angular development code and work remain in a separate directory from the Java side of things. And only become one when we build the fat jar. So let's get to it.

Spring Initializr

Head over to Spring Initializr and it should look like below:

Spring Initialzr

Angular Bit

Under the root directory, create a dev folder. This is where all the Angular stuff goes. Assuming you have Node, Node Version Manager and Node Package Manager ready, run npm install -g @angular/cli to install the Angular CLI. Check your installation, ng -v. We should have something like below:

Angular Version

Create an Angualr starter app under the dev folder, ng new my-app. This will create the scaffolding. Change directory to my-app, cd my-app, then run g serve. Open localhost:4200, we should have something like below:

My-App on 4200

Build the Angular project, ng build. This will create files in the dist directory. Take note of this folder as we will need it in our POM file. We should see something like below after the build:

Built Files

These are the built files found in the dist folder.

dist Contents

Maven Bit

We don't need to change any Java code. The key is in the POM. We will copy the dist files over to the classes/static folder and then Maven (mvn clean package) will take care of making the fat jar. Add the maven-resources-plugin like below (make sure you get the diretories right ;) ):


<plugin> 
	<artifactId>maven-resources-plugin</artifactId>
	<executions>
		<execution>
			<id>copy-resources</id>
			<phase>validate</phase>
			<goals>
				<goal>copy-resources</goal>
			</goals> 
			<configuration>
				<outputDirectory>${build.directory}/classes/static/</outputDirectory>
				<resources>
					<resource>
						<directory>dev/my-app/dist/my-app</directory>
					</resource>
				</resources>
			</configuration>
		</execution>
	</executions>
</plugin>

Below is the key bit when running mvn clean package. This tells us the files copied from Angular to Java classes. The number of files should match!

mvn clean package

Demonstration

Now, run java -jar ./target/angular-fe-spring-boot-0.0.1-SNAPSHOT.jar

and we should be able to see the it running on localhost:8080. Did you notice that it's on a new port this time? It's now being served by Tomcat.
My-App Served Through Spring Boot's Tomcat

There you have it. A nice way of serving an Angular app through Spring Boot's fat jar and embedded Tomcat. Grab the full repo here, github.com/jpllosa/angular-fe-spring-boot